Like a personal style of fashion, a trademark smell may be somewhat iconic. For those who combine mood with clothing and events, having several scents is a way of life. But creating a varied perfume wardrobe can be costly, particularly if one is lured to designer names of luxury. Fortunately, the beauty of reasonably priced substitutes is changing consumer scent purchase behavior. Finding dupes that reflect elegance without the great expense has grown simpler and more fashionable with sites like byza.com.
Affordable Elegance with Everyday Routines
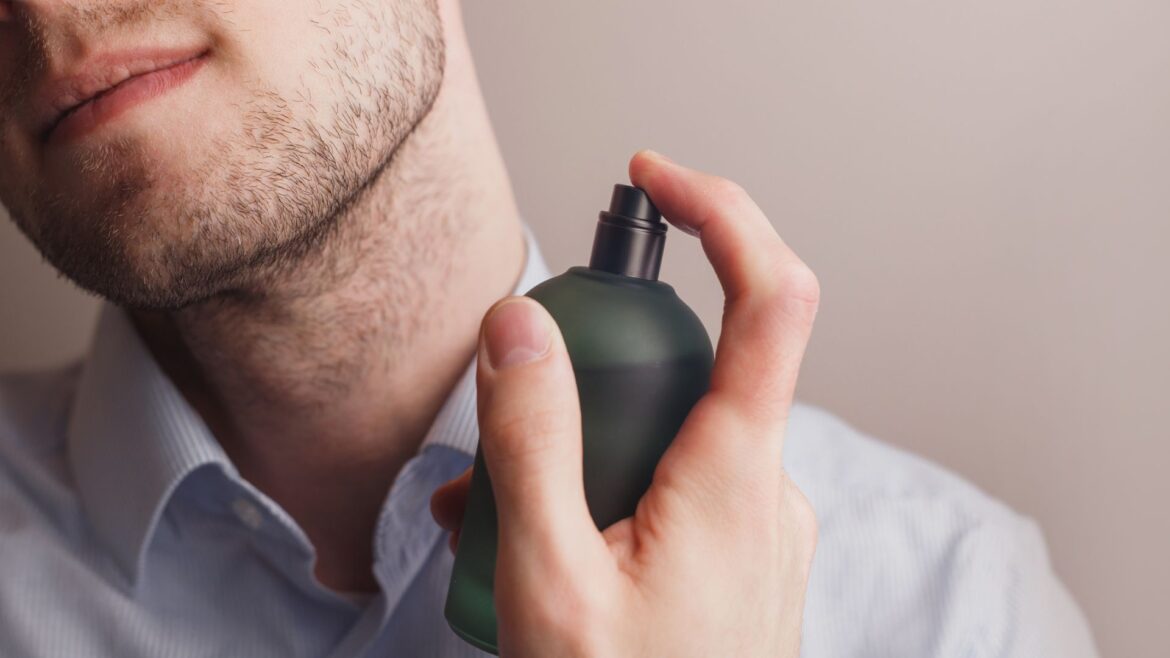
Affordably priced dupes let you smell elegant without going overboard. These scents impress, not only copy. Their enhanced experience from the first spray to the last dry-down comes from better compositions and packaging than ever before. For individuals who consider fragrance to be a part of their personality, having reasonably priced choices allows one to easily match every outfit, adjust to events, and change smells often. They give one the ability to be outspoken without sacrificing style or quality.
Why Fashion-First Consumers Are Making the Switch

Like fashion, fragrances should change with time. Style-conscious shoppers of today are smart; they understand that luxury does not always have a label. They emphasize simplicity, longevity, and style as well as closely monitor value. Affordable dupes provide the ideal mix and, for a fraction of the cost of designer counterparts, identical smell impressions. Investigating top-rated substitutes becomes not only possible but also fun with reliable sites like byza.com. It allows those who enjoy fragrances the ability to grow their selection and experiment unhindered.
Scent as a Stylish Signature
Choosing a smell is a way to convey identity, much as choosing the correct pair of shoes or layering the ideal accessories. Any look gains the last touch from a carefully chosen scent, therefore boosting confidence and presence. Fashion-forward scent addicts modify scent to seasons, emotions, or daily outfits, using it as a subdued yet strong style cue. There’s no need to limit yourself to one reasonably priced choice. Without ever extending your budget, you can create a customized library of fragrances that change with your style.
In the realm of scent, luxury and cost may coexist rather nicely. Affordable imitation fragrances let one enjoy diversity, class, and expression—all without the designer cost tag. These substitutes are altering the scent game for style-conscious people, whether for regular wear or occasional flair. Access to well-chosen collections will help you to enhance your scent adventure in both style and economy.